

A retail paper bag must fit the product, survive carrying, present the artwork correctly, and pack efficiently for delivery. Approving size, paper, handles, and artwork separately can produce a bag that looks right when flat but performs poorly when loaded.
Finished dimensions, side gusset, bottom construction, paper, handles, print layout, and carton pack should therefore be reviewed as one retail-use system.
This buyer guide helps brand owners, importers, distributors, ecommerce sellers, and retail teams translate a real product pack-out into a bag specification, load check, artwork approval, and repeatable order record.
Quick buyer answer: Size the bag around the complete packed product, then approve the paper, bottom, handle attachment, artwork and export pack as one system. Do not treat GSM as a carrying-capacity rating. Give the supplier the finished dimensions, packed weight, load distribution and intended use, and approve a loaded sample under those same conditions before releasing production.
How this guide was prepared: This checklist compares the buyer inputs that affect fit, load path, artwork placement and repeat-order control. ISO 536:2019 is cited only for the standardized determination of paper grammage; it does not assign a safe carrying load to a finished bag. Final performance must be confirmed with the actual paper, handles, construction and packed product. Reviewed 24 August 2026.
Finished bag dimensions should be evaluated as internal working space, not just three numbers on a quote. Product depth consumes gusset space, the top turnover reduces usable height, and a broad base changes how the load sits and how the bag stacks in a carton.
Size the bag from the packed product
Begin with the actual product set a customer will carry. Include retail boxes, tissue, cards, samples, or multiple units that may share the bag. Arrange them in the intended orientation and note the maximum width, depth, and height. Then discuss working clearance with the supplier so staff can load the bag without forcing the product through the opening.
The side gusset must open around the product depth without pulling the front and back panels out of shape. The bottom must provide a stable footprint for the load. The finished height should leave enough room for top clearance and handle use, but an unnecessarily tall bag can allow the product to tip and can increase packing volume.
When several products are expected to use one bag, identify the smallest and largest common pack-outs. A universal size may be commercially useful, but evaluate how the smaller pack presents and whether the larger pack interferes with gussets, turnover, or handles. Record the selected bag against named use cases rather than “medium” or “large.”
Match the base construction to the intended load
Bottom strength comes from the complete construction: paper grade, panel geometry, folds, adhesive application, any reinforcement piece, and production consistency. Paper basis weight alone does not predict whether a loaded bag will remain stable. Ask the supplier to explain the proposed bottom build for the intended product and retail handling.
Inspect an opened sample from inside and outside. The bottom should form cleanly, sit flat for the agreed use, and show no premature lifting at glued areas. If a board insert or reinforced base is proposed, confirm its size, placement, material, and whether it is loose or fixed. A loose board that shifts can expose an unsupported area; an oversized piece can interfere with opening.
Pay special attention to concentrated loads. A narrow box corner or bottle base may place pressure on a small area even when the total bag load seems modest. Pack the actual product arrangement and check the contact pattern. If the product can slide, assess whether movement repeatedly stresses a crease or glued seam.
| Bag input | What to inspect | Decision record |
|---|---|---|
| Finished width and gusset | Product enters without force and panels retain their intended shape. | Named products and packing orientation used for the fit check. |
| Bottom folds and adhesive | Base opens consistently and glued areas remain closed after carrying. | Approved sample ID and any visible limits or exceptions. |
| Bottom reinforcement | Piece covers the intended load area and stays in position. | Material, dimensions, placement, and fixing method. |
| Top turnover | Fold and reinforcement do not reduce usable height unexpectedly. | Finished height and measured loading clearance. |
Review handle attachment as part of the carry system
Handles, patches, holes, knots, and the top turnover work as one carry system. A strong cord does not compensate for weak attachment to the bag wall. Confirm the handle type, attachment method, reinforcement, usable drop length, color, and customer comfort with the planned product load.
Load the sample as it will be used, lift it by both handles, carry it through a representative handling sequence, and inspect the attachment areas. Look for elongation at holes, tearing, slipping knots, lifting patches, or distortion that affects the printed panel. If staff may carry several bags together, check whether the handle opening and drop support that use.
Handle appearance also affects artwork. Reinforcement patches may be visible through light paper or may cover part of an inside print. Hole locations and knots can sit over graphics when the bag folds. Approve the physical handle layout and artwork proof against the same dieline revision.
Place artwork around real converting zones
A flat artwork file should show more than the front-panel logo. Ask for the production dieline with panel names, gussets, bottom folds, top turnover, glue area, trim, and handle positions. The designer can then decide which graphics may wrap across a crease and which elements must stay on an uninterrupted panel.
Approve the opened bag as well as the flat dieline
Keep critical text, codes, and fine details away from areas where folding, gluing, holes, or handle hardware can reduce legibility. If artwork crosses a side gusset, review the bag both flat and opened; alignment that appears continuous on screen may change when the gusset expands. For full-coverage color, discuss how folds and overlapping areas can create visible shade or registration differences.
Connect the color decision to paper and print
Approve a proof for content and placement, then use a physical sample to review the three-dimensional result. Note which color reference and viewing conditions apply to the project. If paper shade, coating, or print method changes, color appearance may change and should be reassessed before production.
RFQ checkpoint
For paper bags, share product size, material, artwork, quantity, sample need, packing method, and deadline so the RFQ can be reviewed before sample approval.
Run a retail-use sample check
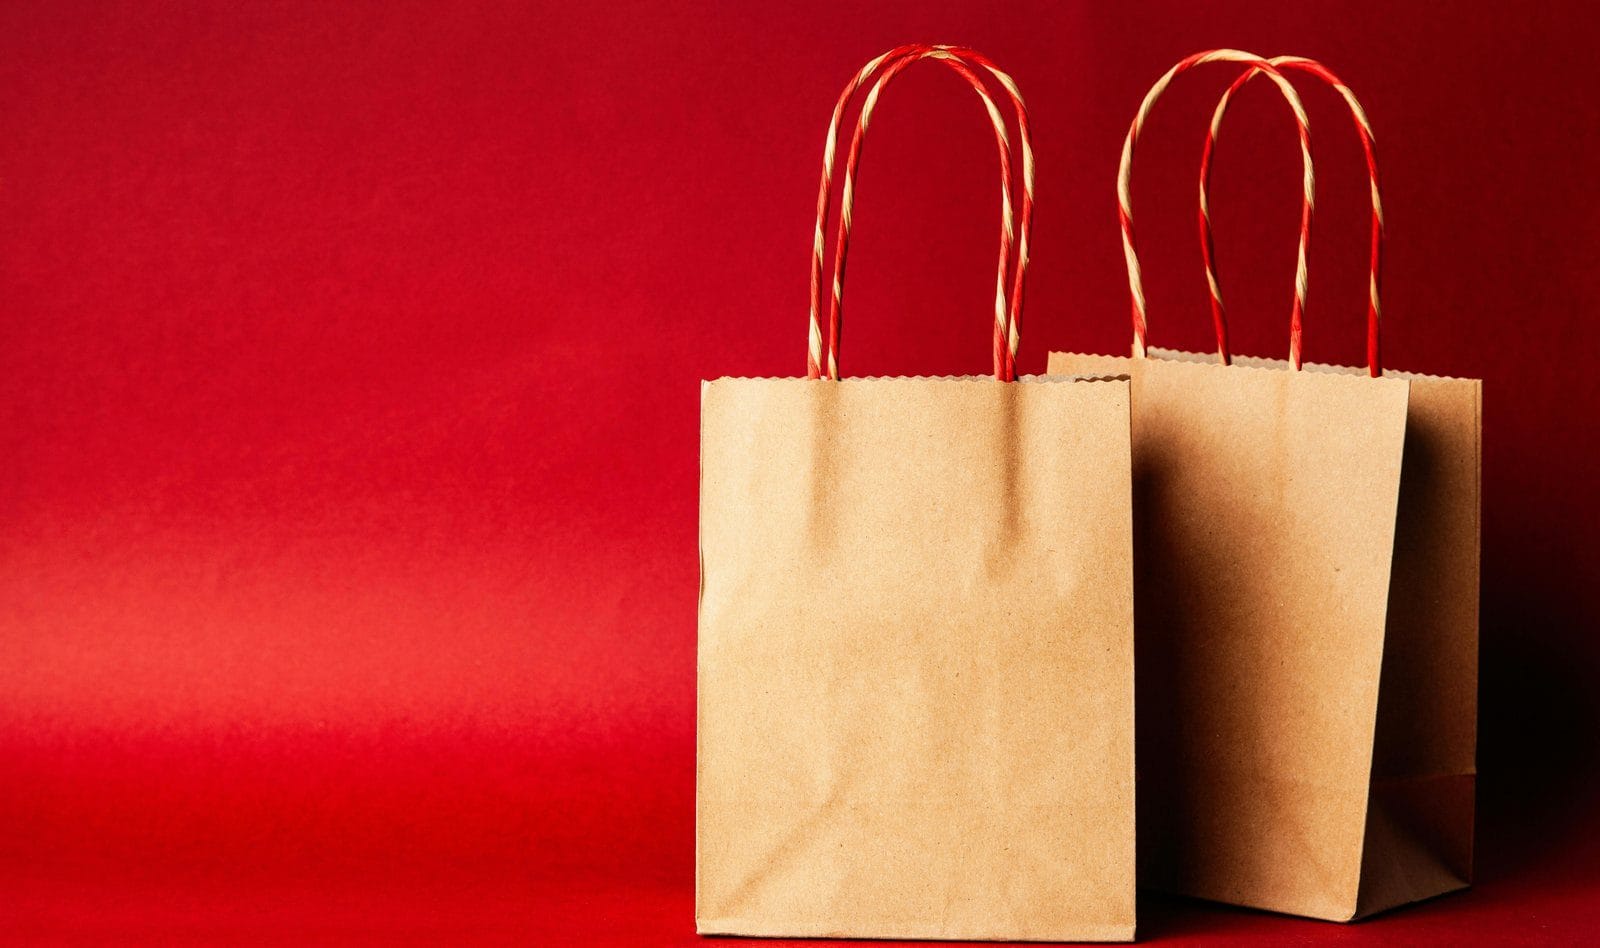
The sample check should reproduce loading, carrying, setting down, and unloading. Use production-intent materials when possible and identify any mockup differences. Pack the intended products, lift by the handles, carry the bag, place it on a surface, and repeat the handling sequence agreed for approval. Then inspect the bottom, handle areas, top fold, gussets, print surface, and product condition.
Record observations as pass, revise, or unresolved. A sample that passes appearance but lacks the planned paper, reinforcement, handle attachment, or print process should not be treated as full production approval. List the unrepresented features and decide what evidence is still required.
For products with higher consequence of failure, ask a qualified supplier or test partner to propose a project-specific evaluation. Do not borrow a load claim from a different size or material. The approved record should describe the tested bag, test load, packing arrangement, handling method, and outcome.
Approve export packing with the bag
Paper bags can be damaged before they reach the store. Their carton pack influences creasing, handle deformation, surface rubbing, moisture exposure, and the time required for retail staff to unpack them. Confirm whether bags ship flat, nested, bundled, sleeved, or otherwise protected, and approve the position of handles inside the pack.
Review bundle count, carton arrangement, carton identification, pallet assumptions, and any humidity protection required for the route. A carton packed too tightly may mark folds or finishes; too much free space may allow movement and edge damage. Ask for a packed-carton sample or packing evidence when the surface finish or handle shape is sensitive.
Include the approved packing method in the quote comparison. Two suppliers may appear to offer the same bag while using different protection, bundle counts, or cartons. Those differences affect delivered condition, receiving labor, freight, and storage.
Write a paper bag order baseline
Before issuing the purchase order, consolidate the finished dimensions, gusset, paper specification, bottom construction, reinforcement, handle system, print method, artwork revision, finish, sample ID, packing, quantity, and open exceptions. Ask the supplier to confirm any alternatives explicitly instead of silently substituting a material or component. The kraft paper bags ordering checklist sequences the same fields into release order.
Separate commercial fields in the supplier quote
Ask the quotation to separate unit cost, printing or finishing setup, tooling, sample charges, packing, and freight basis. Record the MOQ basis for each design, the event that starts lead time, and which specification changes require a re-quote. This prevents unlike constructions or pack-outs from appearing comparable.
Carry approved changes into the reorder record
Define which later changes require buyer approval. Size, paper, bottom reinforcement, adhesive route, handle attachment, artwork, coating, pack-out, and production location can all affect the approved result. For a reorder, compare the new production basis with the retained baseline and repeat the relevant checks when something has changed.
Explore available constructions on the custom paper bags page. To request a comparable quotation, send the product pack-out, bag dimensions, artwork, quantity, and sample expectations through the paper bag project form.
Use the custom packaging specification route to prepare dielines and project inputs, then review the production handoff against the ZHY packaging process.
Where the bag supports a broader retail program, align its pack-out with the retail packaging solution before the sample is signed off.
In conclusion — Paper bag size and bottom strength checklist
A paper bag is ready for order only when the finished size fits the real pack-out, the bottom and handle system have been checked with a representative load, artwork respects converting zones, and export packing protects the approved appearance. Keep those decisions under one revision for production and reorders.
The best sourcing path for retail paper bag size and bottom strength is to make the decision visible before the supplier quotes: define the specs, request the proof, approve a sample, and keep the approval record with the order.
Review paper bag products as the next RFQ or sample approval route.
Paper bag size and bottom strength FAQ
How much clearance should be added around a retail product?
There is no universal allowance because the answer depends on product geometry, loading method, gusset behavior, paper stiffness, top construction, and desired presentation. Give the supplier the real pack-out and approve a physical sample that staff can load without forcing or excessive empty space.
Does heavier paper automatically make a paper bag bottom stronger?
No. Paper contributes to performance, but bottom geometry, fold quality, adhesive, reinforcement, load concentration, and converting consistency also matter. Evaluate the proposed complete bag with the intended products and record the exact construction used for approval.
What should trigger another paper bag carrying check?
Recheck when finished size, paper, reinforcement, handle or attachment, adhesive route, product load, artwork coverage, finish, or production method changes. Also review a new sample when the previous one was only a visual mockup and did not represent production materials.


Ask a Packaging Question