
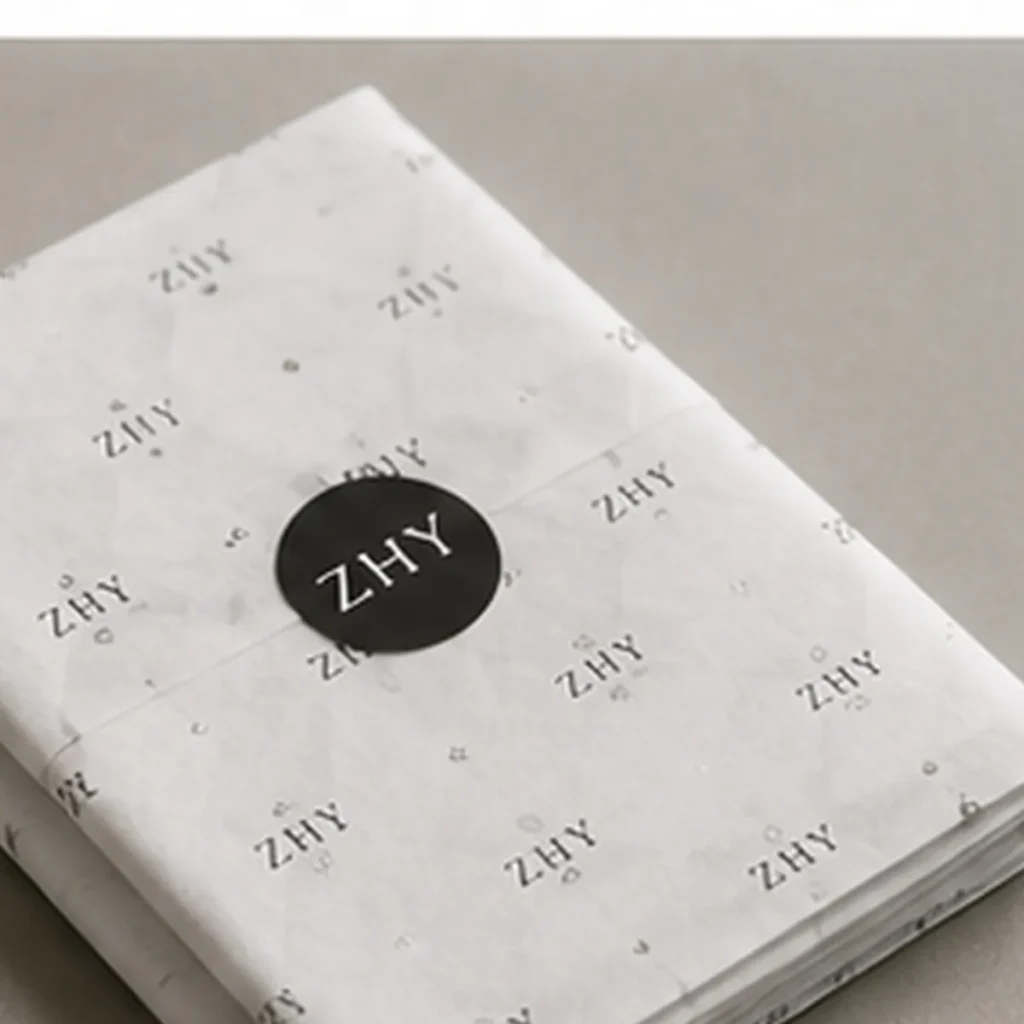
Printed tissue looks simple until it hits the packing line. The wrong open size, fold direction, or sheet count does not usually fail in the artwork proof. It fails when an operator opens a pack, wraps a product, and discovers the logo lands in a crease, the stack sticks together, or the count does not match the station kit.
This guide walks through printed tissue the way a packaging plant and a brand packing line actually use it: first the job on the table, then sheet size and fold, then count and pack-out, then what a sample must prove before you free a bulk order or a reorder. The result is a production approval gate built on measured evidence, not a visual proof alone.
Direct answer: Lock open size, finished fold, print face, and viewing orientation on one drawing, because a logo that looks correct flat can land in a crease or rotate 180° on the line. Ask for a production-style inner pack, not a hand-counted demo stack, and count the sheets yourself against the quoted pack size. Check grab-and-separate, ink transfer onto a light liner, and the fold against the diagram before signing.
- Draw open size, fold sequence, print face, and final logo orientation.
- Specify paper, grammage, ink, sheet count, bundle, and carton packing.
- Check separation, transfer, rubbing, count, and line handling.
- Approve a production-style pack under one revision.
Method and limits: ISO 536:2019 covers grammage, while Pantone’s packaging guidance supports choosing an appropriate color reference. Neither specifies tissue fold direction, logo orientation, sheet count, transfer limit, or packing-line performance. Define and verify those fields on the intended tissue and pack-out. Reviewed 24 August 2026.
How You'll Actually Use the Tissue on the Line
Start from the station, not the PDF. Printed tissue is a handling material: someone will pick it up, open or unfold it, place a product, and either leave the print facing the customer or hide it inside a wrap. If that motion is not written down, suppliers will quote paper and print while your packing team is still arguing about fold style.
Most brand programs fall into a few real jobs:
- Product wrap. Shoes, apparel, candles, or gift sets are wrapped so the print shows when the box opens. The operator needs a finished fold that drops cleanly into the box without re-creasing on the line.
- Interleaf / protection sheet. Sheets sit between products or over a tray. Count and stack flatness matter more than a dramatic presentation fold.
- Void fill or cushion look. Tissue is crumpled or loosely placed. Print orientation still matters if a logo can face the wrong way after placement, but dimensional tolerance is looser than a wrap program.
- Retail presentation insert. Tissue is pre-folded so the logo sits at a fixed viewing angle when the lid opens. This is the strictest case for crease position and print face.
Write the use case in one sentence on the RFQ: who uses the tissue, where the product sits relative to the print, whether the sheet is used flat or pre-folded, and whether the customer sees the logo at unboxing. That sentence is the control for every later sample decision. A beautiful print proof that ignores the station motion is not production-ready.
Also record what the packing line will not do. If operators will not re-fold a fan-fold into a gift wrap on every unit, do not approve a sample that requires that extra work. Tissue that “works in the photo studio” and “works at full packing-line speed” are different products.
Size, Fold, and Logo Direction (What Belongs in the RFQ)
Sheet size, fold geometry, and print direction are one construction. Approving them separately is how brands get a sample that fits the box but shows the logo upside down, or a logo that looks correct flat but disappears into a quarter fold.
Lock four fields on the same drawing or marked sample photo:
- Open size. Finished cut length and width before folding. State whether the dimension is cut size or after any trim the factory still controls.
- Finished fold. Flat stack, half fold, C-fold, Z-fold, quarter fold, or a pack-out-specific pattern. Name the crease locations relative to the open sheet.
- Print face. Which side carries the logo when the pack is opened at the station, and which side faces the product skin if ink transfer is a concern.
- Viewing orientation. Top of logo relative to the box opening or product long edge. “Centered” is not enough if the sheet can be rotated 180° during packing.
A practical plant check is simple: open the sample flat, mark the leading edge the operator will grab, fold it exactly as the drawing requires, place it with the real product or a size dummy, and photograph the result from the customer’s unboxing angle. If the packing supervisor and the brand reviewer disagree on that photo, the sample is not approved.
When one tissue SKU is forced across several box sizes, test every target box. A sheet that is elegant in a large gift box can look sparse or force double wrapping in a smaller carton. Either accept different open sizes by box family, or accept extra material waste and write that trade-off into the cost review. Do not let “one tissue for all SKUs” pass as a cost idea without a multi-box fit trial.
If artwork and dieline live in different files, force a single revision number that both reference. The factory should not have to guess whether the print proof or the fold sketch is newer. When the tissue must stay coordinated with outer cartons and inserts, align the construction with your custom packaging specification path so box and tissue do not drift on separate email threads.
Use custom packaging solutions to align the related specifications and RFQ inputs.
RFQ checkpoint
Check sizes, structures, materials, finishes, and quote details before sampling this order.
Sheets per Pack and How They're Bundled
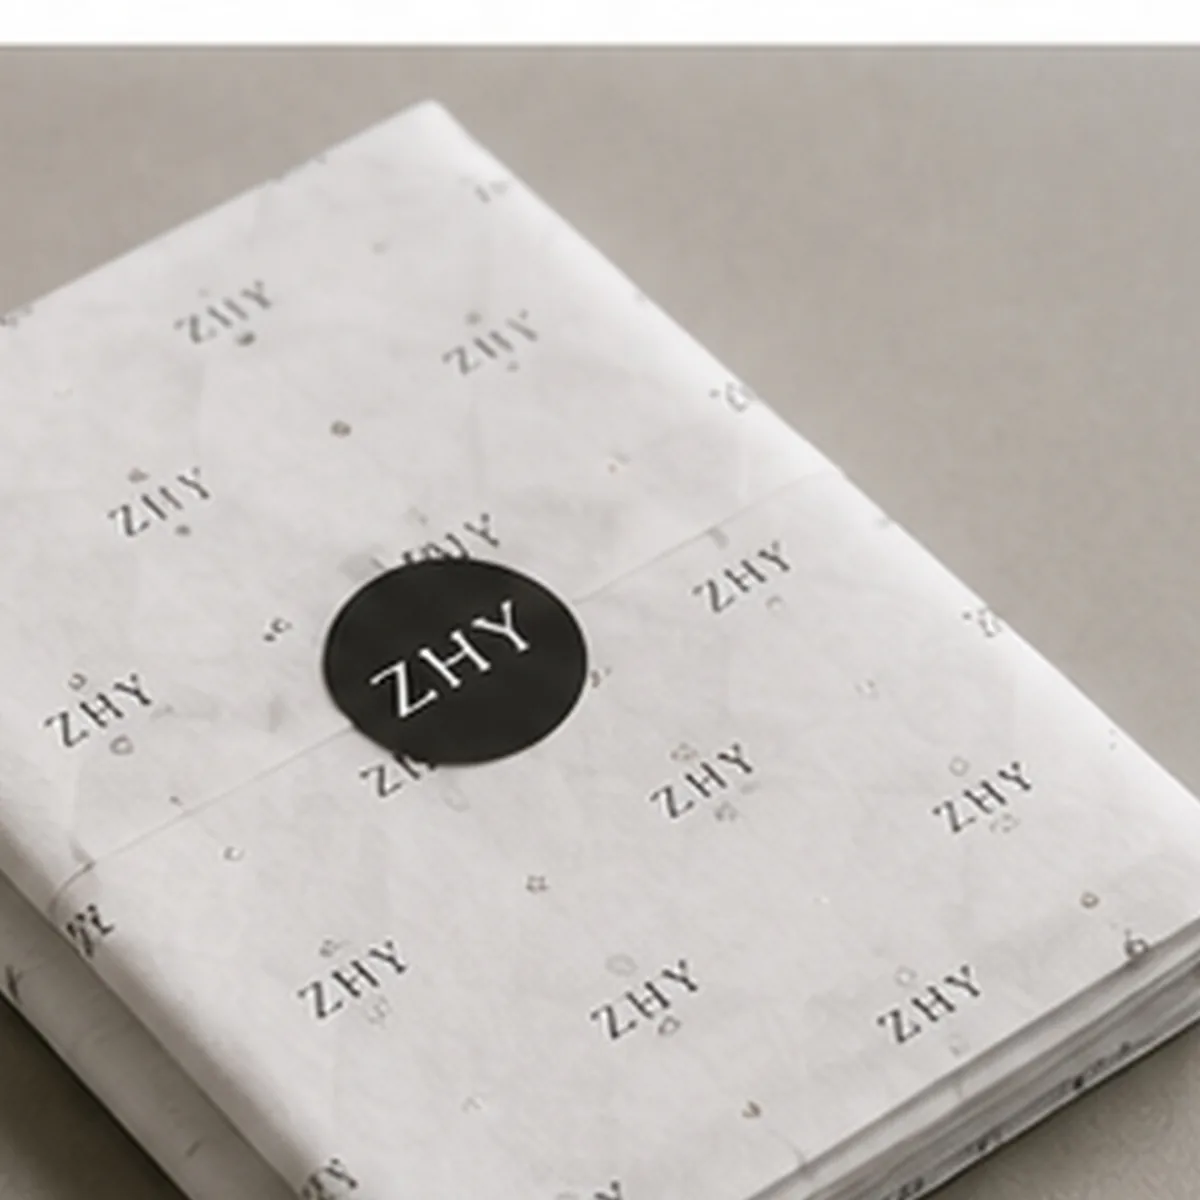
Sheet count is not a warehouse footnote. On a packing line it is a kit size: how many usable sheets an operator receives before the next pack is opened. Interleaving and inner wrap decide whether those sheets separate cleanly or tear, stick, or arrive as a solid brick of paper.
Put the following into the RFQ and onto the sample label the same way:
- Sheets per inner pack. The working count at the station, not only total sheets per shipping case.
- Interleaving pattern. Face-to-face, face-to-back, slip-sheet between printed faces, or none. Printed tissue can scuff or offset if inked faces sit under pressure for weeks in a carton.
- Inner protection. Poly bag, kraft wrap, board support, desiccant only if humidity is a known route risk. Over-wrapping can hide damage until the case is opened at the brand warehouse.
- Case quantity and pack orientation. How many inners per case, and whether packs stand on edge or lie flat. Soft tissue packs compress; the bottom of a tall stack can change fold memory.
When you receive a pre-production sample, do not accept a “presentation stack” that was hand-counted for photography if bulk will ship in different packs. Ask for one production-style inner pack built the way the order will ship. Then count it yourself. If the supplier quote says 500 sheets per pack and the sample arrives as loose 50-sheet demo stacks, you have not tested the production unit.
Also decide what “count short” means before bulk ships. Tissue is light and easy to miscount at rewind or guillotine stages. Agree whether incoming inspection will count one pack fully, weigh packs against a retained master, or check only a sample of packs. Without that rule, a shortage becomes a warehouse argument instead of a QC result.
If tissue is only one item in a multi-component packaging PO, keep the pack-out fields next to the outer box and insert records under the same order revision. A complete paper packaging program view is available under custom paper packaging.
What Must Pass Before You Sign the Sample
A tissue sample is not a souvenir. It is a production reference. Approve it only when three things match: the paper and print you expect to buy, the fold and pack-out you expect to receive, and a record that lets the next person repeat your decision months later.
What a usable handling sample includes
- Material identity: tissue grade or basis weight target as quoted, color, and any recycled or virgin claim only if the supplier will put it on the COA or data sheet.
- Print: ink coverage areas, logo size, and the artwork revision ID printed or labeled on the sample bag.
- Construction: open size, finished fold, and crease marks that match the drawing.
- Pack-out: the same sheets-per-pack and interleaving method planned for bulk.
- Traceability: sample ID or date, supplier lot if available, and the name of the person who built the sample.
Run the sample through the packing motion once at normal speed, not only on a clean table for photos. Use the checks below as the pass/fail surface for sign-off — each row is something a packing supervisor can do without a lab.
| Check on the sample | Pass rule | Typical fail signal |
|---|---|---|
| Grab and separate | Sheets peel without tearing or pulling ink. | Faces stick under light pressure; ink lifts when separated. |
| Fold vs drawing | Open size, crease position, and finished fold match the marked diagram. | Logo lands in a crease; fold opens the wrong way on the line. |
| Viewing orientation | After fold and place in the real box, logo is upright at unboxing angle. | Logo rotated 180°, hidden, or off-position after packing motion. |
| Ink to product | Printed face against product or light liner shows no rub-off in a short check. | Color transfer on white liner, shoe upper, or garment sample. |
| Pack count | Full count of one production-style pack matches the stated sheets per pack. | Demo stacks of 50 when bulk is quoted as 500; unexplained shortage. |
How to reject without starting a new fight
Write the failure in construction language: “logo rotated 180° after finished fold,” “pack count short vs stated pack,” “print face sticks under light pressure.” Attach photos. Ask for a corrected sample on the same revision trail, not a verbal “we will watch it in production.” Production watch lists disappear; retained samples do not.
When the tissue decision is tied to a larger launch pack, keep sample photos and the box sample under one launch file. Coordination with outer structure is easier when you route both through the same packaging dieline and custom packaging specs.
Locking the Spec So Reorders Don't Drift
The first approved order is cheap compared with the third reorder that ships “almost the same.” Freeze a baseline the moment the sample passes, while everyone still remembers why it passed.
Minimum reorder baseline for printed tissue:
- Supplier item code and your internal SKU
- Artwork revision and any plate or cylinder note the supplier uses
- Substrate description and basis-weight target as quoted
- Open size, finished fold, print face, viewing orientation
- Sheets per pack, interleaving, case pack
- Retained sample ID, approval date, and approver name
- Any temporary concession (for example, a temporary length tolerance for the first batch only) with an expiry condition
On reorder, require the purchase order to cite that baseline. Ask the supplier to declare changes before accepting the PO: paper mill or grade change, ink system change, fold tooling change, or pack-out change. A silent material substitution is a known soft-packaging failure because tissue looks “close enough” in a dim warehouse light.
Incoming checks should be short enough that the warehouse will actually do them:
- Case label matches PO revision and item code
- One pack count vs baseline
- One open-size measure vs baseline
- Visual: print face, major registration issues, obvious scuff or moisture
- Spot check of fold against the retained master
Agree the reaction before the truck arrives. If count fails, is the lot held or only short-shipped cartons quarantined? If fold drifts, does the brand accept a use-as-is with credit, or is the lot rejected? Ambiguous reaction rules turn QC into negotiation under time pressure.
For ownership of inspection and retention habits across packaging components, keep the same discipline you use on broader paper packaging quality control work: named owner, dated record, retained reference.
When to Release the Order
Release printed tissue to bulk when the packing use case, construction (size, fold, print orientation), pack-out (count and interleaving), and commercial quote all describe the same product you held in your hands. If any of those disagree, fix the record first. A low unit price on the wrong fold is not a savings.
Keep the retained sample and the one-page baseline with the PO. That is the difference between a supplier relationship that stays stable on reorder and a program that re-negotiates quality every season.
If you want a factory review of artwork, fold, and pack-out before sampling, send the packaging team the box size, open tissue size target, fold preference, artwork revision, quantity, and any photos of the current packing method.
See custom printed tissue paper products for this release decision.
Printed Tissue Sample Approval FAQ
These questions reflect how brands and small packaging buyers actually shop custom printed tissue: proofs before print, what to send for a quote, physical sample checks, MOQ/lead-time terms, and reorder control. Answers stay verification-first — confirm commercial numbers with the selected supplier.
Can I approve artwork before the factory makes plates or prints a bulk run?
Yes — and you should. Ask for a digital proof first so logo size, color target, and placement are locked before plate or cylinder work. Then require a physical handling sample of the quoted construction. Approving only a PDF is how teams get a logo that looks fine on screen but fails after fold and pack-out.
What should I send so a supplier can quote printed tissue correctly?
Send sheet open size, preferred fold, print face and viewing orientation, approximate sheets per pack, case packing preference, artwork with a revision ID, first-order and reorder quantity ranges, and the packing use (wrap, interleaf, void fill, or presentation insert). If the tissue must fit a box, include inside dimensions or a sample box photo. Vague quotes usually omit fold and pack-out, which is where line failures appear.
What is the difference between a digital proof and a handling sample?
A digital proof checks artwork layout and color intent on screen. A handling sample checks cut size, fold, interleaving, sheet count, ink rub, and how an operator wraps or places the sheet in the real pack. Many disputes happen because only the digital proof was signed. For production release, both matter — and the handling sample must match the quoted pack-out, not a photo-studio stack.
What should I check on a physical tissue sample before approving bulk?
Check grab-and-separate (sheets do not stick or tear), fold against the drawing, logo orientation after fold in the actual box, ink transfer onto a light liner or product surface, and a full count of one production-style pack. Photograph open, folded, and packed views and keep them with the sample ID. If any check fails, reject in construction language and request a corrected sample on the same revision.
How do MOQ and lead time usually work for custom printed tissue?
They are specification-dependent: sheet size, print coverage, number of artworks, and pack-out all change setup and run time. Ask the supplier to separate sampling time from bulk lead time, state the MOQ basis (per design vs combined), and confirm whether a reorder that freezes the approved sample avoids a new setup charge. Do not import another product family’s MOQ as the tissue MOQ — confirm it for this construction only.
How should sheet count and pack-out be controlled for reorders?
Treat sheets per pack as a kit size for the packing station, not a warehouse afterthought. Full-count one production-style pack at sample approval, then freeze sheets per pack, interleaving, case quantity, artwork revision, and the retained sample ID on the PO. On arrival, the warehouse should repeat a short count and fold check against that baseline. Without a frozen method, shortages become arguments instead of QC results.
RFQ handoff: Send artwork files, logo placement, material, finish target, quantity, and sample timing so print and structure can be reviewed together. Send Specs for Review.
Source check: ISO 2859-1 sampling inspection standard; Custom Printed Tissue Paper MOQ & Cost Guide.
Check printed tissue alongside the full custom packaging accessories range when coordinating inserts, cards, and pack-out.


Ask a Packaging Question